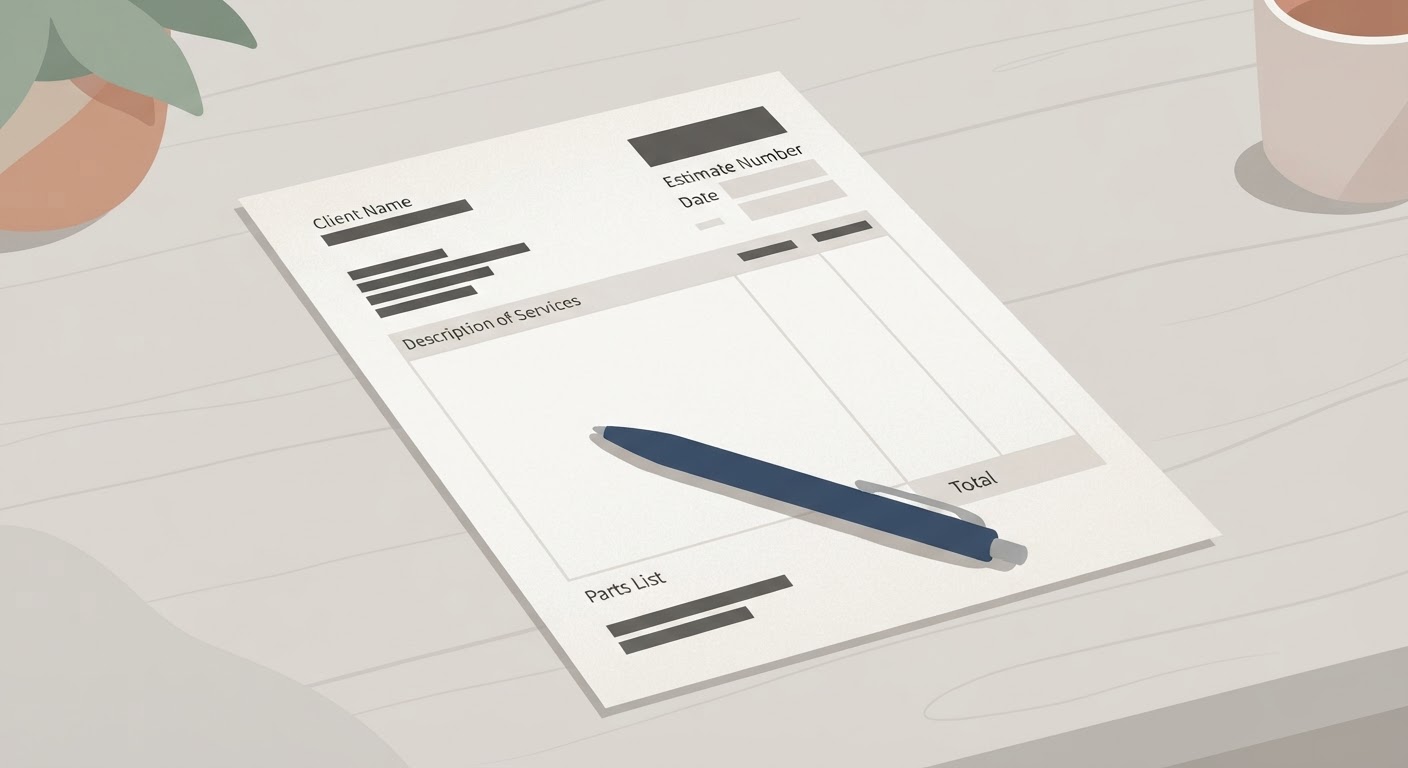
When you first open an auto damage estimate, it can look like a foreign language. Rows of codes, abbreviations, and dollar amounts with no obvious logic connecting them. Underneath that clutter, though, is a fairly consistent structure. Every estimate, whether it comes from an insurance adjuster’s software or a body shop’s system, is built from the same basic building blocks. Once you know what those blocks are, the document stops feeling random and starts making sense.
This matters because the estimate is the thing you’ll compare against your final repair bill, and it’s the document you’ll be asked about if the shop finds more damage once the car is apart. Knowing how it’s assembled helps you read it accurately instead of just skimming the total at the bottom.
Parts and Labor Rates
Every estimate starts with a list of damaged parts. Each line usually shows a part description, a part number, and a price. That price can come from three different sources, and the source matters more than people realize.
- OEM parts are made by the vehicle’s original manufacturer. They tend to cost the most and fit with the least adjustment.
- Aftermarket parts are made by third-party manufacturers to match the original part’s specifications. Prices are usually lower, and fit can vary by brand and part.
- Used or recycled parts, sometimes labeled LKQ (like kind and quality), come from other vehicles. These are often the cheapest option and are common for items like bumpers, mirrors, and wheels where exact newness isn’t critical to safety.
An estimate will specify which type is being used for each part. If you have a preference, particularly for structural or safety-related components, this is the line to look at closely and the line to raise with the shop before repairs start, not after.
Labor is calculated separately from parts, and it’s split into distinct categories that each carry their own hourly rate:
- Body labor covers cutting, welding, and reshaping metal or composite panels.
- Refinish labor covers prepping and painting.
- Mechanical labor covers items like suspension, steering, or drivetrain work.
- Frame or structural labor covers work on the vehicle’s underlying structure, often billed at its own rate because it requires specialized equipment.
Each category has its own hourly rate, and those rates differ by shop and by region. The estimate multiplies the rate by the number of hours the estimating software assigns to a given repair task. Those hour figures come from standardized labor time guides used across the industry, not from a shop guessing. Shops can sometimes negotiate a different rate with the insurer, which is one reason two estimates for the same damage can come out slightly different even when the labor hours match.
Paint and Materials
Paint is its own section of the estimate, and it’s often misunderstood because it isn’t priced the same way parts are. There’s no single “price per can” line. Instead, most estimates use one of two approaches:
- A materials allowance, which is a flat rate per hour of refinish labor meant to cover primer, clear coat, sealer, tape, sandpaper, and the other consumables a paint job requires.
- An itemized materials charge, less common, which tries to break out individual product costs.
The refinish labor hours themselves are tied to how many panels need paint and how they need to be blended. A single scuffed door might need only that door refinished. A more visible impact might require blending into an adjacent panel so the color transition isn’t noticeable, which adds labor hours even though no additional part is being replaced. This is a common point of difference between a first estimate and what a shop later determines it actually needs once the car is on the lift and the paint match is tested against real light.
Color matching itself is a skill, not a formula, and it’s one of the reasons paint labor can run higher than people expect. Metallic and pearl finishes in particular can require more blending than a solid color to avoid a visible line between old and new paint.
Supplemental Estimates
The first estimate you receive, whether written at the scene, at a drive-in inspection site, or from photos you submitted yourself, is based on what’s visible from the outside. It is a starting point, not a final number. Once the shop takes the vehicle apart, it’s common to find damage that wasn’t visible before: a bent bracket behind a bumper cover, a cracked radiator support, wiring that was pinched and not caught until the panel came off.
When that happens, the shop writes what’s called a supplemental estimate. It documents the newly found damage, usually with photos, and it gets submitted to the insurer as an addition to the original estimate. The insurer typically reviews and approves supplements before the shop proceeds with that portion of the work, which is why a repair can sometimes pause for a day or two in the middle while the paperwork catches up with the car.
This is a normal, expected part of the process, not a red flag by itself. Structural and mechanical repairs are especially prone to supplements because so much of the relevant damage sits behind panels that don’t come off until the repair is already underway. If your estimate feels low compared to what you’d guess just from looking at the outside of the car, a supplement later on is often the reason why, rather than an error in the original number.
What’s worth tracking on your end is simply how many supplements were filed and what they covered. If your final bill is noticeably higher than your first estimate, matching it against the supplement documentation should account for the difference. If it doesn’t line up cleanly, that’s a reasonable thing to ask the shop or the adjuster to walk through with you, line by line, before you sign off.
Reading the Estimate Against Your Invoice
The estimate and the final invoice are not always the same document, and they don’t need to be, but they should tell a consistent story. Here’s a simple way to compare them without needing any special expertise.
Start with the parts list
Check that each part on the invoice appears on the estimate or on an approved supplement. New line items on the invoice that don’t trace back to either document are worth asking about. Sometimes they’re legitimate additions caught during teardown that simply weren’t formally logged as a supplement; sometimes they’re an error that needs correcting before you pay.
Compare labor hours, not just totals
Look at the hours listed for body, paint, and mechanical labor on both documents. Hours that grew significantly between the estimate and the invoice should generally correspond to a supplement. If they don’t, that’s the specific gap to ask about, rather than questioning the total bill in general terms.
Check the parts type held steady
If the estimate specified aftermarket or used parts and the invoice shows OEM parts (or the reverse), the price will shift accordingly. Sometimes this happens because an aftermarket part didn’t fit properly and the shop swapped to OEM to complete the repair correctly. That’s a legitimate reason for a change, but it should show up as a documented note, not just a silently different number.
Confirm the materials and paint line matches the panel count
If the final invoice includes refinish work on more panels than the original estimate listed, there should be a reason on file, usually a blend requirement discovered once the shop tested the color match. If the panel count is the same but the materials charge changed substantially, that’s worth a quick question too.
Set the deductible and total aside until the rest lines up
It’s easy to jump straight to “what do I owe” and skip the line-by-line check. Do it in the other order. Confirm the parts, labor, and materials lines make sense first. The deductible math at the bottom is simple once you trust the numbers above it.
None of this requires you to become an estimator. The goal is just to be able to look at three numbers, your original estimate, any supplements, and your final invoice, and see how they connect. When they do, the paperwork is doing exactly what it’s supposed to do: giving you a transparent record of what happened to your car and why it cost what it cost. When something doesn’t connect, you now know exactly which line to point to when you ask about it, which is usually the fastest way to get a clear answer.