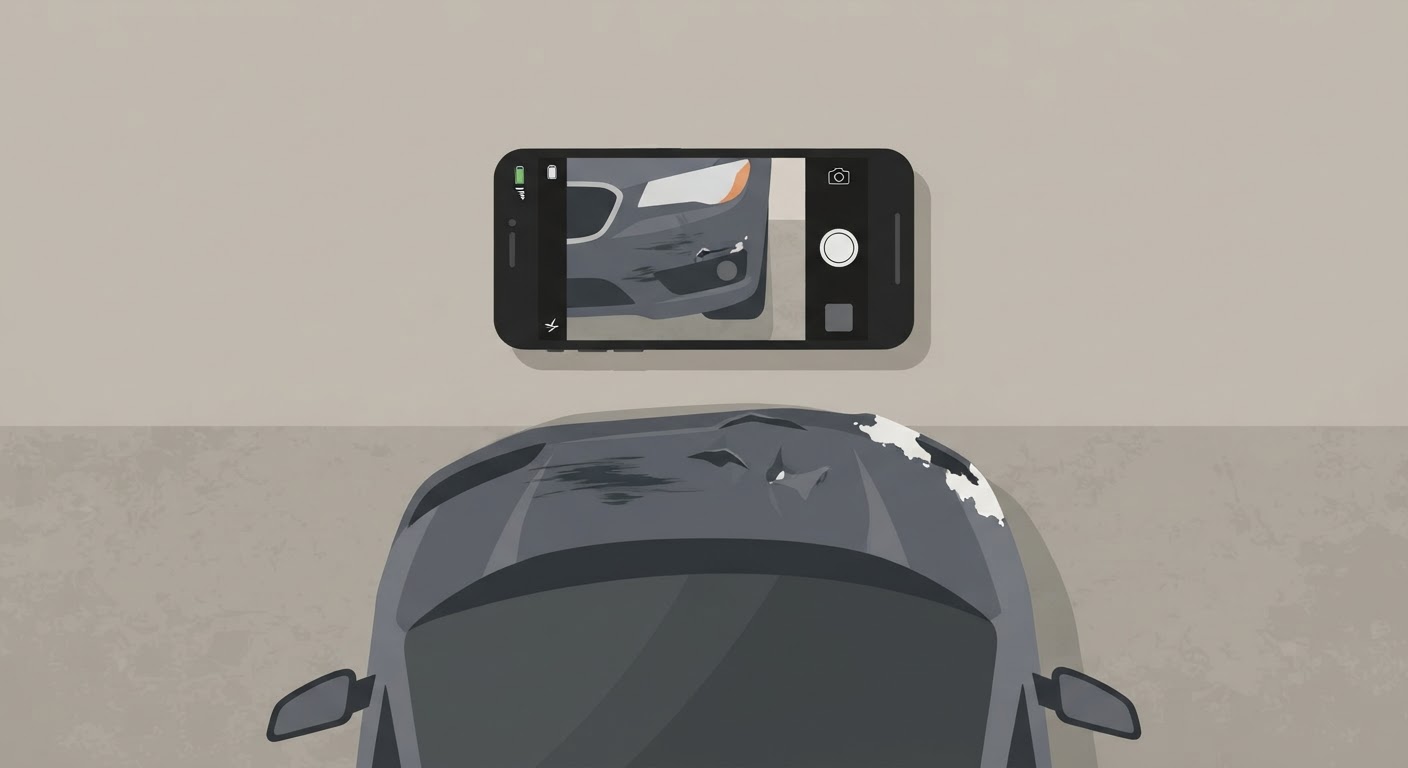
Right after a crash, your hands are shaking and your instinct is to check the damage up close. Resist that for about sixty seconds. The first photos you take should be wide shots, taken before you touch anything, move anything, or let anyone move their car. Those wide shots are the ones that end up mattering most when an adjuster is trying to reconstruct what happened, because everything after them is evidence about damage. The wide shots are evidence about how it happened.
Wide shots before you touch anything
If it’s safe to stay where you are, stay. Before you pick up a dropped phone case, before you pull your car to the shoulder, before the other driver asks to “just move out of the road,” take a few steps back and photograph the whole scene from several angles. You want to capture:
- Both vehicles in their resting positions, relative to each other
- The lane markings, intersection, or shoulder they’re sitting in
- Any skid marks, debris fields, or fluid trails on the pavement
- Traffic signals or stop signs in the frame, if they’re relevant
Take these from at least two directions — say, standing where one driver was approaching, then again from where the other was approaching. A single photo can be ambiguous about which car was in which lane. Two or three from different angles usually aren’t.
If moving the vehicles is required for safety — you’re blocking a live lane, or you’re at genuine risk from passing traffic — then move them, but only after you’ve gotten these shots. Safety comes first. The point isn’t to freeze the scene forever; it’s to get the resting-position photos in the thirty to sixty seconds before you have to act.
One more thing worth doing at this stage, if your phone shows the time clearly or you can note it separately: photograph a dashboard clock, your phone’s lock screen, or just make a mental note of the time. Adjusters sometimes ask when photos were taken relative to when the collision happened, and your phone’s metadata usually answers that automatically, but it doesn’t hurt to have a visual reference too.
Close-ups of damage from multiple angles
Once the wide shots are done and everyone is somewhere safe, move to close-ups. This is where people tend to under-shoot. One photo of a dented bumper is not enough. You want:
- A close-up straight on to the damage
- A close-up from an angle, so depth and displacement are visible
- A shot with something in the frame for scale — a hand, a key, a business card — especially for damage that’s subtle, like a hairline crack or a misaligned panel gap
- A slightly wider shot that shows where the damage sits on the vehicle, so it’s clear this dent is on the rear passenger door and not floating in space
Photograph every point of contact, not just the one that looks worst. A collision often transfers force further than the obvious crumple zone. A hit to the front corner can tweak a door on the same side, or crack a headlight housing that doesn’t look touched until you look closely. Walk the entire vehicle — yours and, where you can safely and courteously do so, the other one — and photograph anything that looks off, even if you’re not sure it’s related. It’s easier for an adjuster to rule something out than for you to prove something later that you didn’t document at the scene.
Don’t forget the parts that are easy to skip because they’re low or awkward to photograph: the underside of a bumper, wheels and rims, tire sidewalls, and the area around the wheel wells. Damage there is common in collisions and easy to miss in the moment.
If a headlight, taillight, or turn signal is cracked or knocked loose, get a close photo of it both off and, if it’s safe to check, when you test whether it still lights up. That distinction — cosmetic crack versus a light that no longer functions — can matter for how repairs are scoped.
Photos of the whole scene, not just your car
It’s natural to focus your camera on your own vehicle, since that’s the part you’re worried about. But the photos that help an adjuster understand fault and sequence are usually the ones that show context, not just damage. Make a point of capturing:
- The other vehicle, from the same wide and close-up approach described above
- License plates on all vehicles involved, clearly and separately from the damage shots
- Street signs, mile markers, or any fixed landmark that establishes exactly where this happened
- Weather and road conditions — wet pavement, glare, construction cones, a broken traffic signal — anything that was part of the environment at the time
- Any third vehicles involved, even if they seem peripheral, since insurers may need to loop in another driver’s coverage later
If there were witnesses who stopped, a photo of their vehicle and a note of their contact information is worth more than you’d think in the moment. People who saw it happen but weren’t involved often have the clearest, least emotionally loaded account, and their willingness to talk to an adjuster can be significant. You don’t need to interview them. Just get a name and a number, and a photo of their car if it’s nearby, in case it turns out to be relevant.
Also photograph any official presence at the scene — a police cruiser, an officer’s badge number if they give it to you, or a report number if one is issued on the spot. If emergency responders are treating anyone, keep your camera away from that and focus on the vehicles and scene instead; people, not property, are the priority in those moments, and this is not the time to be documenting anyone’s injuries.
What to capture on your own vehicle’s interior
Exterior damage gets most of the attention, but interior photos matter more than most people expect, especially if the impact was hard enough to jostle anything inside the cabin. Once you’re safely stopped and it’s appropriate to do so, photograph:
- The dashboard, including any warning lights that have come on — check engine, airbag, tire pressure, battery
- The airbags, whether they deployed or not — a non-deployed airbag can still matter if it was expected to deploy
- The odometer reading, which timestamps the vehicle’s condition at that moment
- Seats, seatbelts, and the steering column, especially if anything is visibly out of place or a seatbelt shows signs of having locked hard
- Any cracked interior trim, a shattered window with glass on the seats, or anything that shifted position, like a center console lid popped open
If your car has a dashcam, don’t just leave the footage on the device. Once you’re somewhere safe, save or back up the relevant clip if you’re able to. Dashcam footage is one of the most useful pieces of evidence an adjuster can review, because it removes ambiguity about sequence and speed that photos alone can’t fully capture. If you’re not confident in how to export it in the moment, at minimum avoid letting the device overwrite the footage by continuing to drive extensively before you get a chance to save it.
Take these interior photos even if you don’t think you’re hurt and even if the interior looks untouched. It’s a five-minute task at the scene, and it becomes impossible to recreate convincingly once you’ve driven the car home, vacuumed the seats, or had a windshield replaced.
A few habits that make all of this easier
You don’t need a special app or a professional camera. A phone is fine, and in most cases it’s better than a dedicated camera because it timestamps and geotags photos automatically, which adjusters can use to confirm when and where they were taken. A few habits worth building in now, before you ever need them:
- Keep your phone’s location services on for the camera app specifically, so photos carry accurate geodata
- Take more photos than you think you need — storage is cheap, and a photo you don’t end up needing costs nothing, while a gap in documentation can’t be filled in later
- Don’t delete anything at the scene, even blurry or duplicate shots, until the claim is fully resolved
- If you have a passenger who isn’t hurt and isn’t needed for anything else, hand them your phone and let them take photos while you handle other things, like exchanging information
None of this replaces exchanging insurance information, calling for help if it’s needed, or filing a report where one is warranted. It’s simply the difference between a claim that moves smoothly because the record is clear, and one that gets bogged down in back-and-forth because the adjuster is trying to reconstruct a scene from too few, too-late photos. The camera in your pocket is one of the most useful tools you have in those first few minutes. Use it methodically, and the rest of the claim tends to go easier.